

- Published on
Making Supabase Images Great with BlurHash
- Authors
- Name
- James Thesken


Introduction
Image placeholders are a compact way to provide users with a preview of an image before the actual high-resolution image loads. This technique significantly enhances the user experience, especially on data-heavy websites and applications. One cool approach to creating image placeholders is using a BlurHash, a compact representation of a placeholder for an image.
For example, this image's BlurHash string can be represented as LBG[yC00ks%K?wobxSMyTeWH-T4.
| Original Image | BlurHash Result |
|---|---|
 |  |
How is this done? By using an excellent library provided by Woltapp, you can generate BlurHash string on your backend server and store the result.
When combined with Supabase Edge Functions, developers can dynamically generate and serve these placeholders. This article will guide you through setting up BlurHash with Supabase Edge Functions to improve your application's loading times and user experience.
This article assumes you have an existing Supabase project setup, with your IDE configured for Deno.
Step 1 - Supabase Setup
Create the photos Table: To store the BlurHash strings along with the photos, you will need a table in your Supabase project. Here's how you can create the photos table using SQL commands in the Supabase SQL editor:
CREATE TABLE photos (
  id SERIAL PRIMARY KEY,
  url TEXT NOT NULL,
  blurhash TEXT
);
This command creates a new table named photos with three fields:
id: A serial ID that serves as the primary key.url: A text field to store the URL of the photo.blurhash: A text field to store the corresponding BlurHash string of the photo.
Create the photos Bucket: The photos storage bucket will hold the uploaded images. After creating the bucket, ensure you have the correct policies in place to access and upload files.
Step 2 - Edge Function Setup
The goal of the Edge Function is to listen for new uploads to the photos bucket, generate a BlurHash string for the uploaded photo, and update the corresponding record in the photos table with this BlurHash string.
First, create a new Edge Function inside your project:
supabase functions new blur-hash
This will create a new directory inside your supabase folder:
└── supabase
	├── functions
	│ └── blur-hash
	│ │ └── index.ts ## Your function code
	└── config.toml
Now we can start writing the Edge Function within index.ts.
First, the function will create a canvas element, draw the uploaded image onto the canvas, and extract the image data that the blurhash library requires.
import { serve } from 'https://deno.land/std@0.168.0/http/server.ts'
import { createClient } from 'npm:@supabase/supabase-js@2'
import { createCanvas, loadImage, Image } from 'https://deno.land/x/canvas/mod.ts'
import { encode } from 'https://deno.land/x/blurhash@v1.0/mod.ts'

import { Database } from './supabase-types.ts'

type PhotoRecord = Database['public']['Tables']['photos']['Row']

interface WebhookPayload {
  type: 'INSERT' | 'UPDATE' | 'DELETE'
  table: string
  record: PhotoRecord
  schema: 'public'
  old_record: null | PhotoRecord
}

const getImageData = (image: Image) => {
  const canvas = createCanvas(image.width(), image.height())
  const context = canvas.getContext('2d')
  context.drawImage(image, 0, 0)
  return context.getImageData(0, 0, image.width(), image.height())
}
Then, we convert the image into an ArrayBuffer:
serve(async (req) => {
	const payload: WebhookPayload = await req.json()

	try {
		const supabaseAdminClient = createClient<Database>(
			// Supabase API URL - env var exported by default when deployed.
			Deno.env.get("SUPABASE_URL") ?? "",
			// Supabase API SERVICE ROLE KEY - env var exported by default when deployed.
			Deno.env.get("SUPABASE_SERVICE_ROLE_KEY") ?? "",
		)

			const { data: imageData, error: storageError } = await supabaseAdminClient.storage
			.from("photos")
			.download(payload.record.url as string, {
			transform: { width: 32, height: 32, resize: "cover" },
		})

		const buffer = await imageData?.arrayBuffer()
If the buffer exists, we generate the BlurHash string and update our photos table and return a successful response:
if (buffer) {
  const arrayBuffer = new Uint8Array(buffer)
  const image = await loadImage(arrayBuffer)
  const pixels = await getImageData(image)

  if (pixels) {
    const encoded = await encode(pixels.data, 32, 32, 4, 3)

    if (encoded) {
      const { data, error } = await supabaseAdminClient
        .from('photos')
        .update({ blur_hash: encoded })
        .match({ id: payload.record.id })

      return new Response('ok')
    }
  }
}
After putting it all together:
// index.ts
import { serve } from 'https://deno.land/std@0.168.0/http/server.ts'
import { createClient } from 'npm:@supabase/supabase-js@2'
import { createCanvas, loadImage, Image } from 'https://deno.land/x/canvas/mod.ts'
import { encode } from 'https://deno.land/x/blurhash@v1.0/mod.ts'

import { Database } from './supabase-types.ts'

type ProjectPhotoRecord = Database['public']['Tables']['photos']['Row']

interface WebhookPayload {
  type: 'INSERT' | 'UPDATE' | 'DELETE'
  table: string
  record: ProjectPhotoRecord
  schema: 'public'
  old_record: null | ProjectPhotoRecord
}

const getImageData = (image: Image) => {
  const canvas = createCanvas(image.width(), image.height())
  const context = canvas.getContext('2d')
  context.drawImage(image, 0, 0)

  return context.getImageData(0, 0, image.width(), image.height())
}

serve(async (req) => {
  const payload: WebhookPayload = await req.json()

  try {
    const supabaseAdminClient = createClient<Database>(
      // Supabase API URL - env var exported by default when deployed.
      Deno.env.get('SUPABASE_URL') ?? '',
      // Supabase API SERVICE ROLE KEY - env var exported by default when deployed.
      Deno.env.get('SUPABASE_SERVICE_ROLE_KEY') ?? ''
    )

    const { data: imageData, error: storageError } = await supabaseAdminClient.storage
      .from('photos')
      .download(payload.record.url as string, {
        transform: { width: 32, height: 32, resize: 'cover' },
      })

    const buffer = await imageData?.arrayBuffer()

    if (buffer) {
      const arrayBuffer = new Uint8Array(buffer)
      const image = await loadImage(arrayBuffer)
      const pixels = await getImageData(image)

      if (pixels) {
        const encoded = await encode(pixels.data, 32, 32, 4, 3)

        if (encoded) {
          const { data, error } = await supabaseAdminClient
            .from('photos')
            .update({ blur_hash: encoded })
            .match({ id: payload.record.id })

          return new Response('ok')
        }
      }
    }
  } catch (error) {
    return new Response(JSON.stringify({ error: error.message }), {
      headers: { 'Content-Type': 'application/json' },
      status: 400,
    })
  }
})
Step 3 - Edge Function Deployment
First, login to Supabase:
supabase login
To get a list of all projects, you can run:
supabase projects list
Then, link your local project using your Supabase project ID:
supabase link --project-ref your-project-id
Finally deploy the edge function from the same directory as your Supabase project:
supabase functions deploy blur-hash
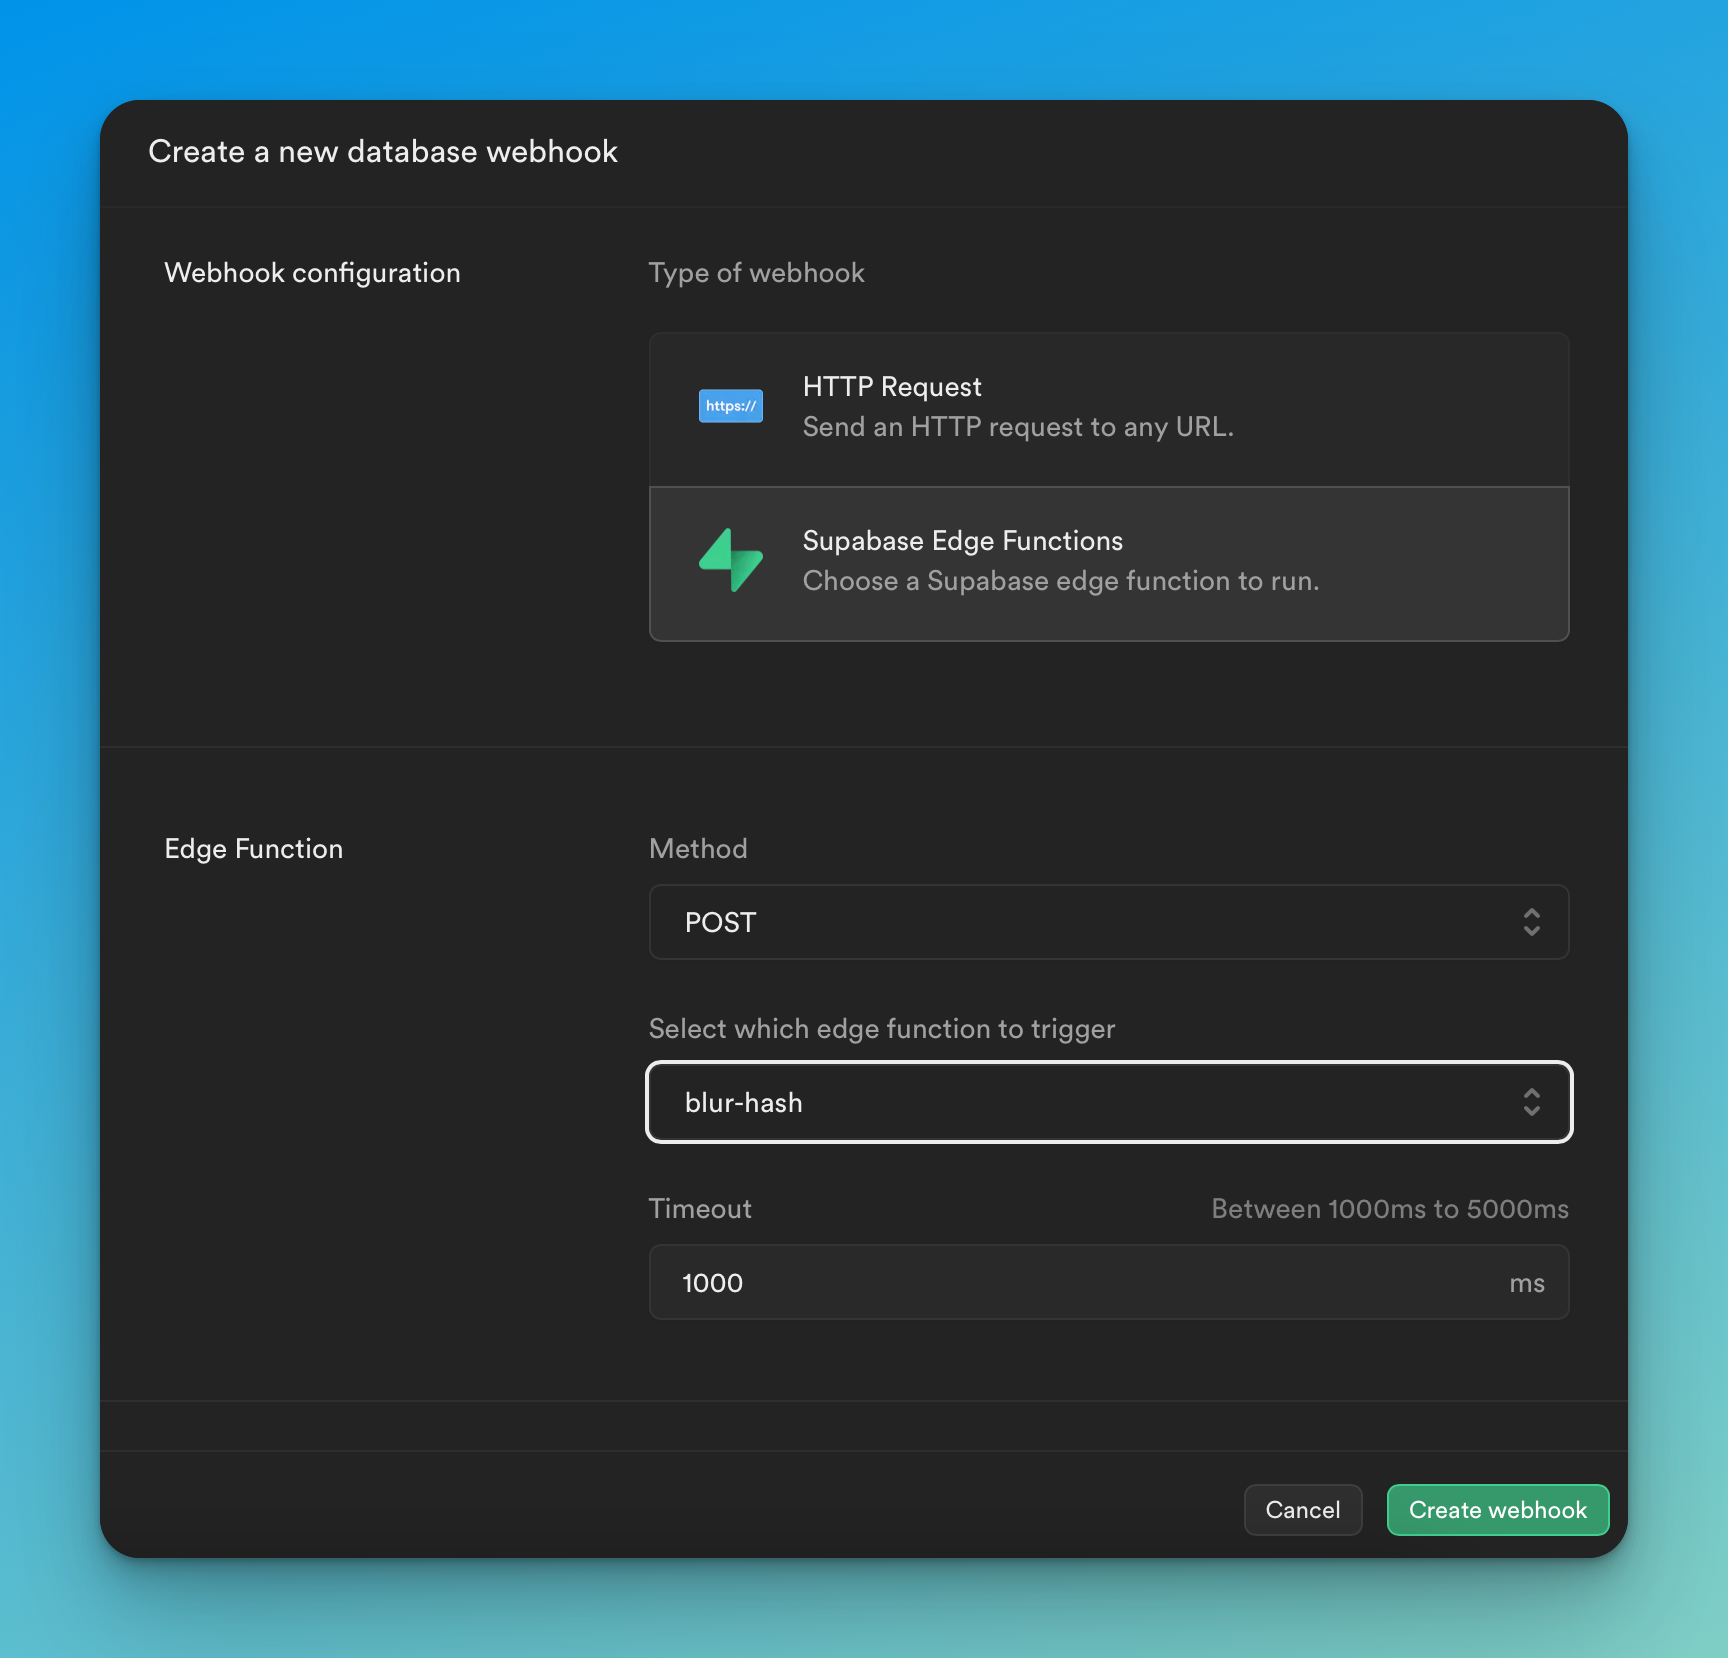
Now on the Supabase dashboard, navigate to your Database settings and click on "Create a new hook":

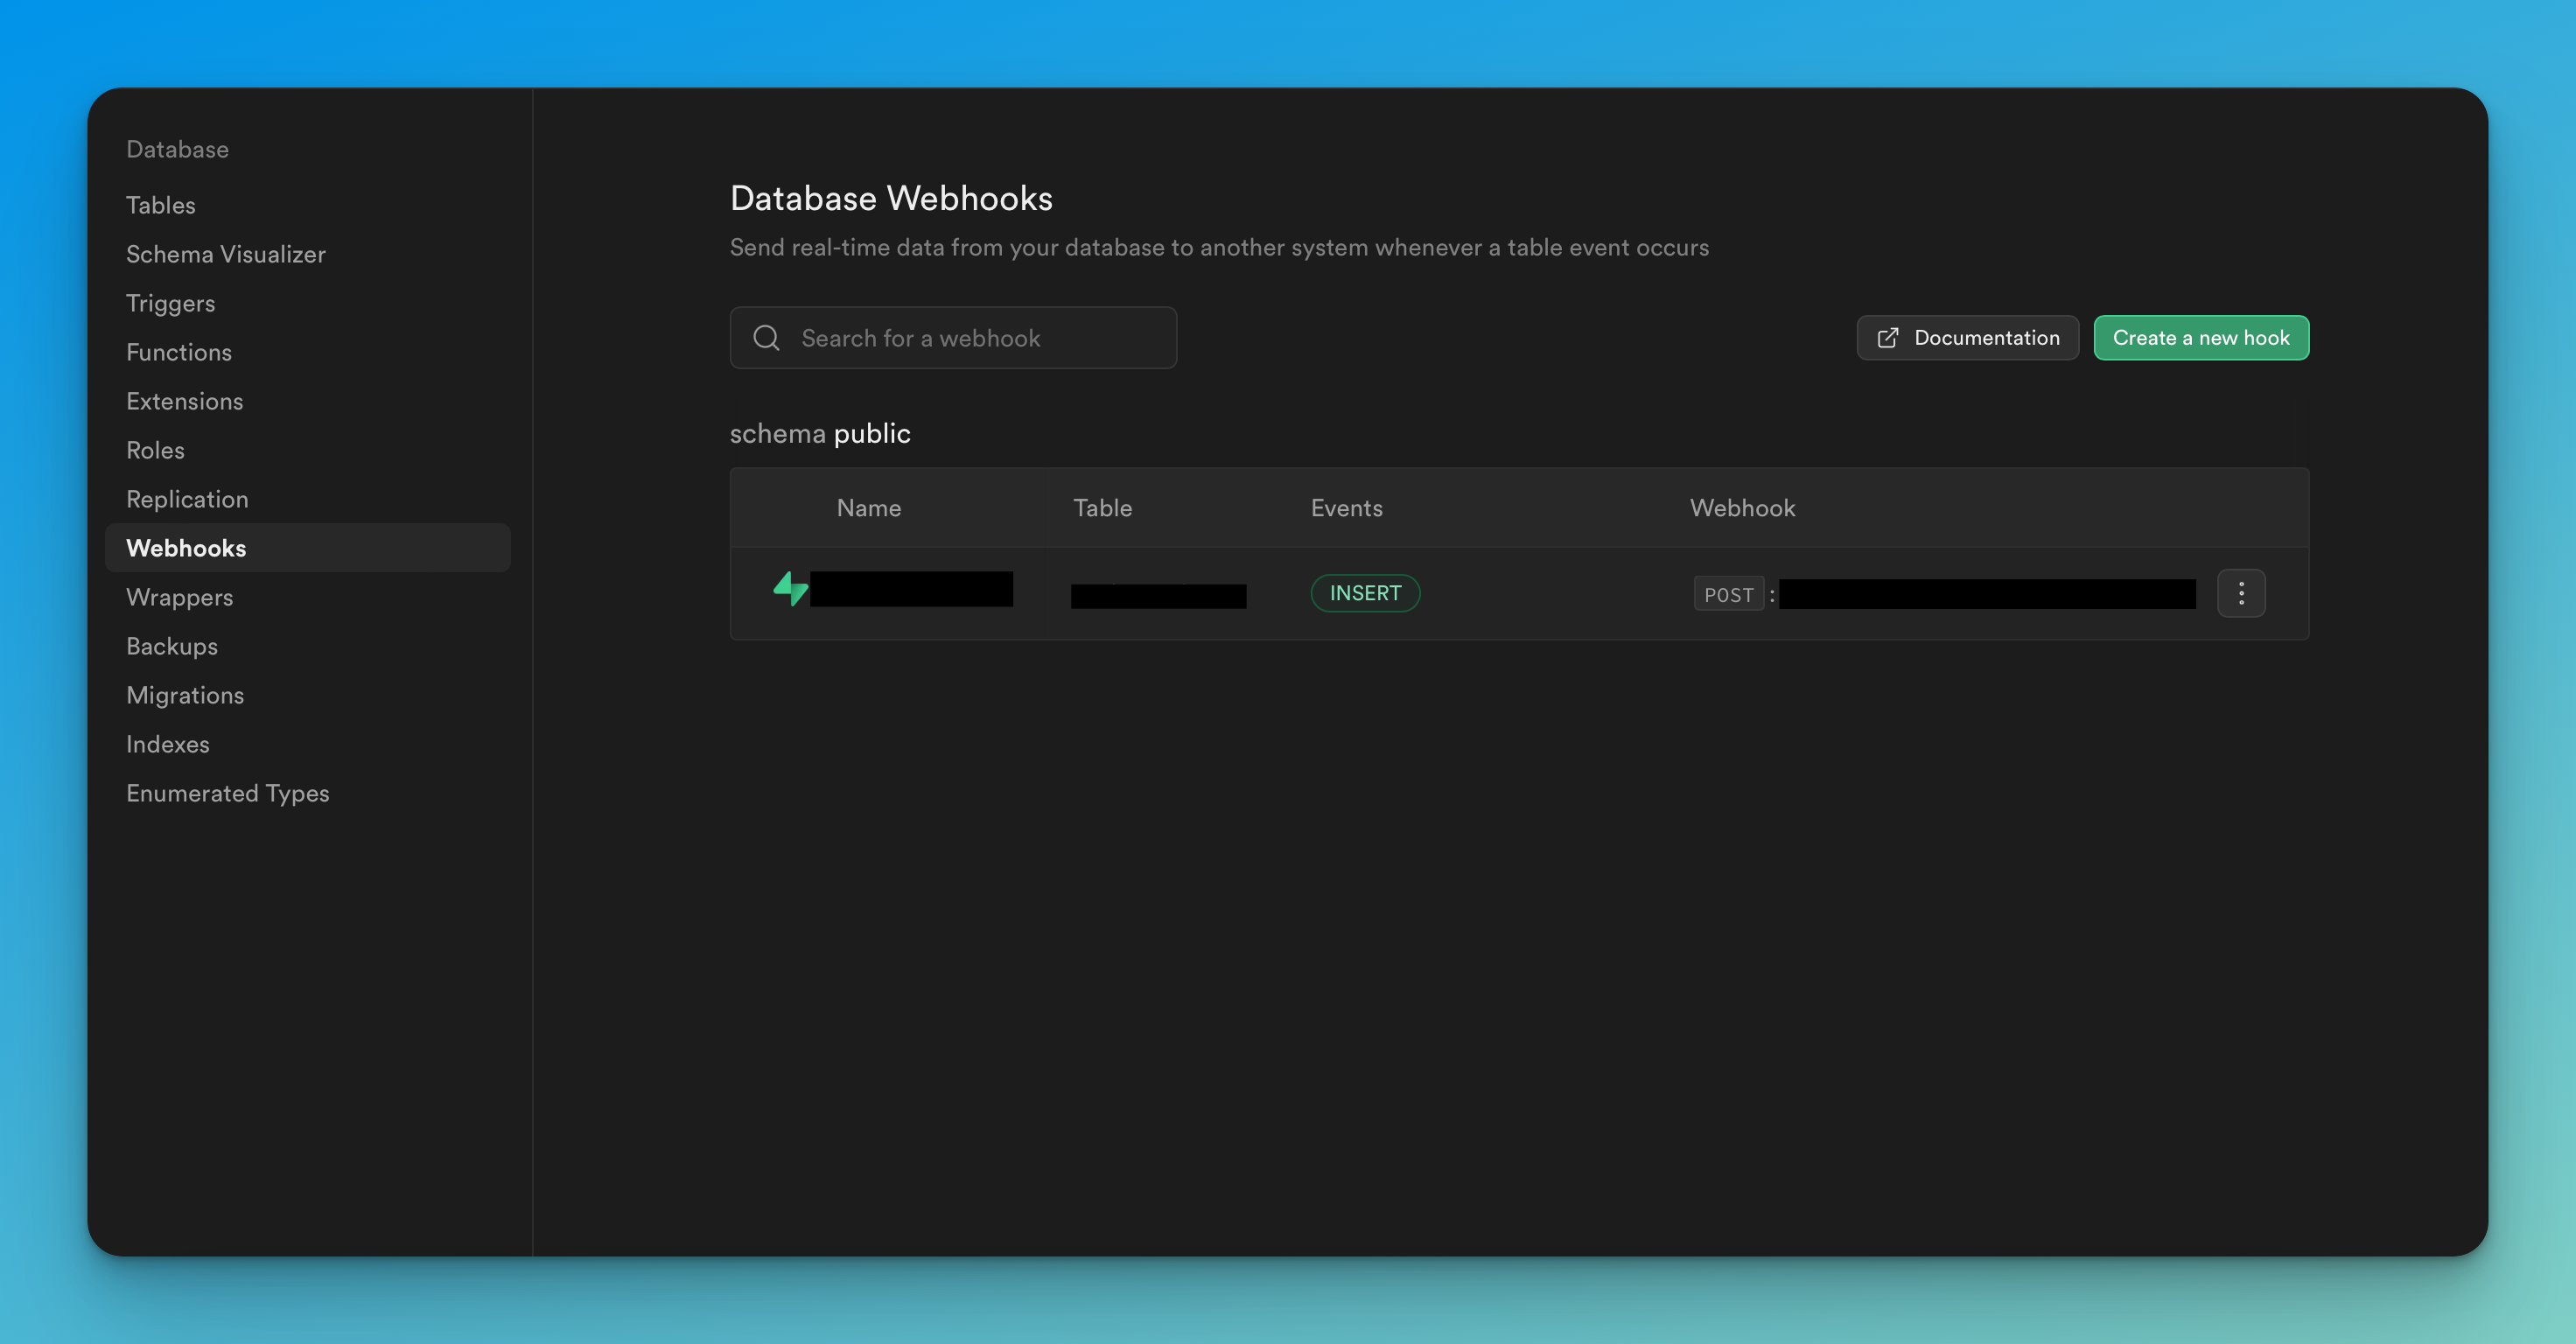
Fill in the name of your webhook and select the following:
- Table:
photos - Events:
insertandupdate - Type of webhook: Supabase Edge Functions

On the Database Triggers page, select "Create a new trigger". Follow a similar procedure, by selecting the photos table, insert and update events, and the blur-hash function.
Step 4 - Frontend
When you upload photos to the photos bucket, be sure to create a new record in the photos table with the url returned from the upload.
For example, you could create a function to upload the photo and return the url before creating a new record in photos. Below is a simple example:
import { useState } from 'react'
import { toast } from 'react-toastify'
import { supabase } from '../utils/supabase'

const ImageUpload = ({ user, project }) => {
  const [file, setFile] = useState(null)

  const handleFileChange = (e) => {
    setFile(e.target.files[0])
  }

  const uploadPhoto = async () => {
    if (!file) return null

    const fileExt = file.name.split('.').pop()
    const filePath = `${Date.now()}.${fileExt}`

    try {
      // Upload the image file to Supabase Storage
      const { data: uploadData, error: uploadError } = await supabase.storage
        .from('photos')
        .upload(filePath, file, {
          contentType: file.type,
        })

      if (uploadError) {
        throw uploadError
      }

      // Get the path of the uploaded photo
      const uploadedPhotoPath = uploadData.path

      // Insert a new record in the photos table
      const { data: imageData, error: insertError } = await supabase
        .from('photos')
        .insert({
          url: uploadedPhotoPath,
        })
        .single()

      if (insertError) {
        throw insertError
      }

      toast.success('Photos uploaded')
      return
    } catch (error) {
      toast.error(`Error: ${error.message}`)
      return null
    }
  }

  return (
    <div>
      <input type="file" onChange={handleFileChange} />
      <button onClick={uploadPhoto}>Upload Image</button>
    </div>
  )
}

export default ImageUpload
Then using a library such as react-blurhash provided by Woltapp makes it easy to display the blurred images:
import { useEffect, useState } from 'react'
import { Blurhash } from 'react-blurhash'
import supabase from '../utils/supabase'

const App = () => {
  const [photos, setPhotos] = useState([])

  useEffect(() => {
    ;(async () => {
      // Fetch blurhash strings from the photos table:
      const { data: photos, error } = await supabase.from('photos').select('*')
      if (error) console.error('Error fetching photos', error)
      else setPhotos(photos)
    })()
  }, [])

  return (
    <div>
      {photos.map((photo) => (
        <Blurhash
          key={photo.id}
          hash={photo.blur_hash}
          width={400}
          height={300}
          resolutionX={32}
          resolutionY={32}
          punch={1}
        />
      ))}
    </div>
  )
}

export default App
That's it! Now you should be ready to start using BlurHash image placeholders in your own apps! If you have any feedback, questions, or comments please reach out.